How To Set Up A Camping Tent
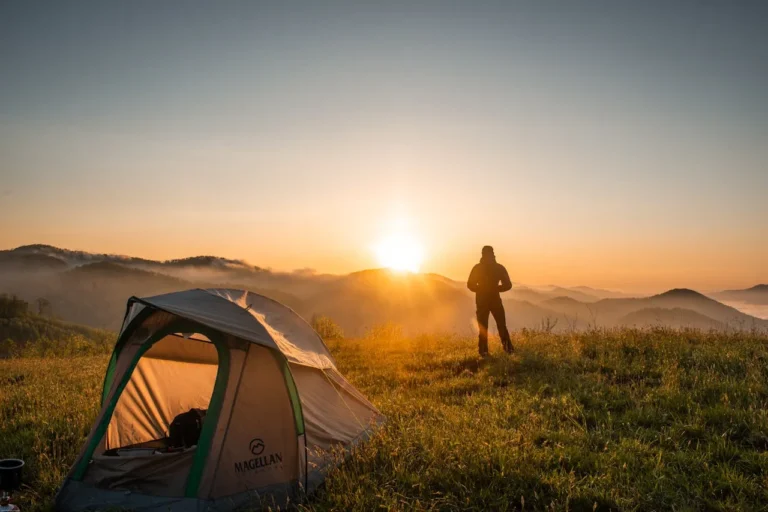
People of all ages can enjoy the pastime of camping. One of the most crucial skills to master, whether you’re a seasoned camper or just getting started, is how to set up a camping tent. Although setting up a tent may seem like a difficult process, with some practice and perseverance, it can be an…
People of all ages can enjoy the pastime of camping. One of the most crucial skills to master, whether you’re a seasoned camper or just getting started, is how to set up a camping tent. Although setting up a tent may seem like a difficult process, with some practice and perseverance, it can be an enjoyable and satisfying experience. We’ll walk you through how to set up a tent in this blog post.
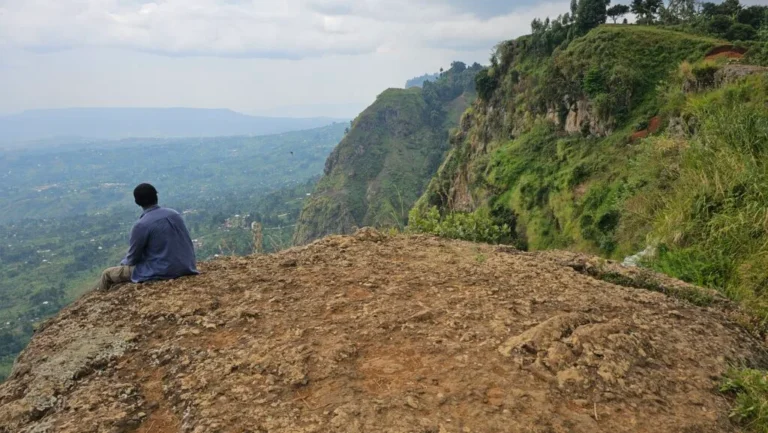
Choose A Camping Area
Selecting an appropriate campsite is the first step in setting up a tent. Choose a location that is dry, level, and free from any potential dangers like falling boulders, fallen trees, or standing water. Be sure to review the campsite’s rules and restrictions before you make a decision to camp.
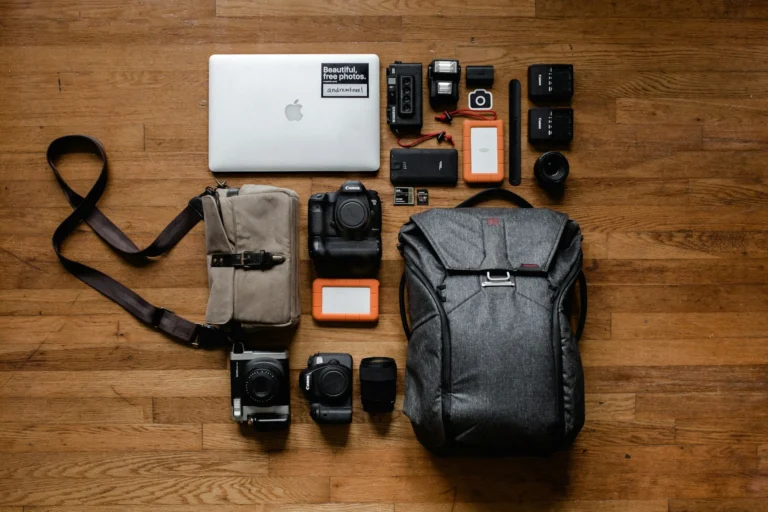
Buy A Camping Tent
Make sure to get a tent that is the appropriate size for your needs. Think about how many people will be sleeping in the tent and how much extra equipment you’ll need to store. This will save you a lot of hustle and ensure your camping experience runs smoothly.
Practice At Home
It’s a good idea to practice pitching a tent in your garden or living room if you’re new to camping or haven’t done so in a while. This will allow you to become familiar with the procedure and iron out any kinks before venturing into the woods. You do not want to be stuck in the middle of nowhere or sleep in the cold because you did not learn how to set up a camping tent.
Examine The Weather
Before going camping, be sure to look at the forecast. This will ensure that you’re ready for any potential rain or wind and make proper preparations, more so bring with you the right gear and the right mindset. Camping in the rain for a beginner can be somewhat challenging so you want to pay attention to every tiny detail so you can enjoy your camping trip.
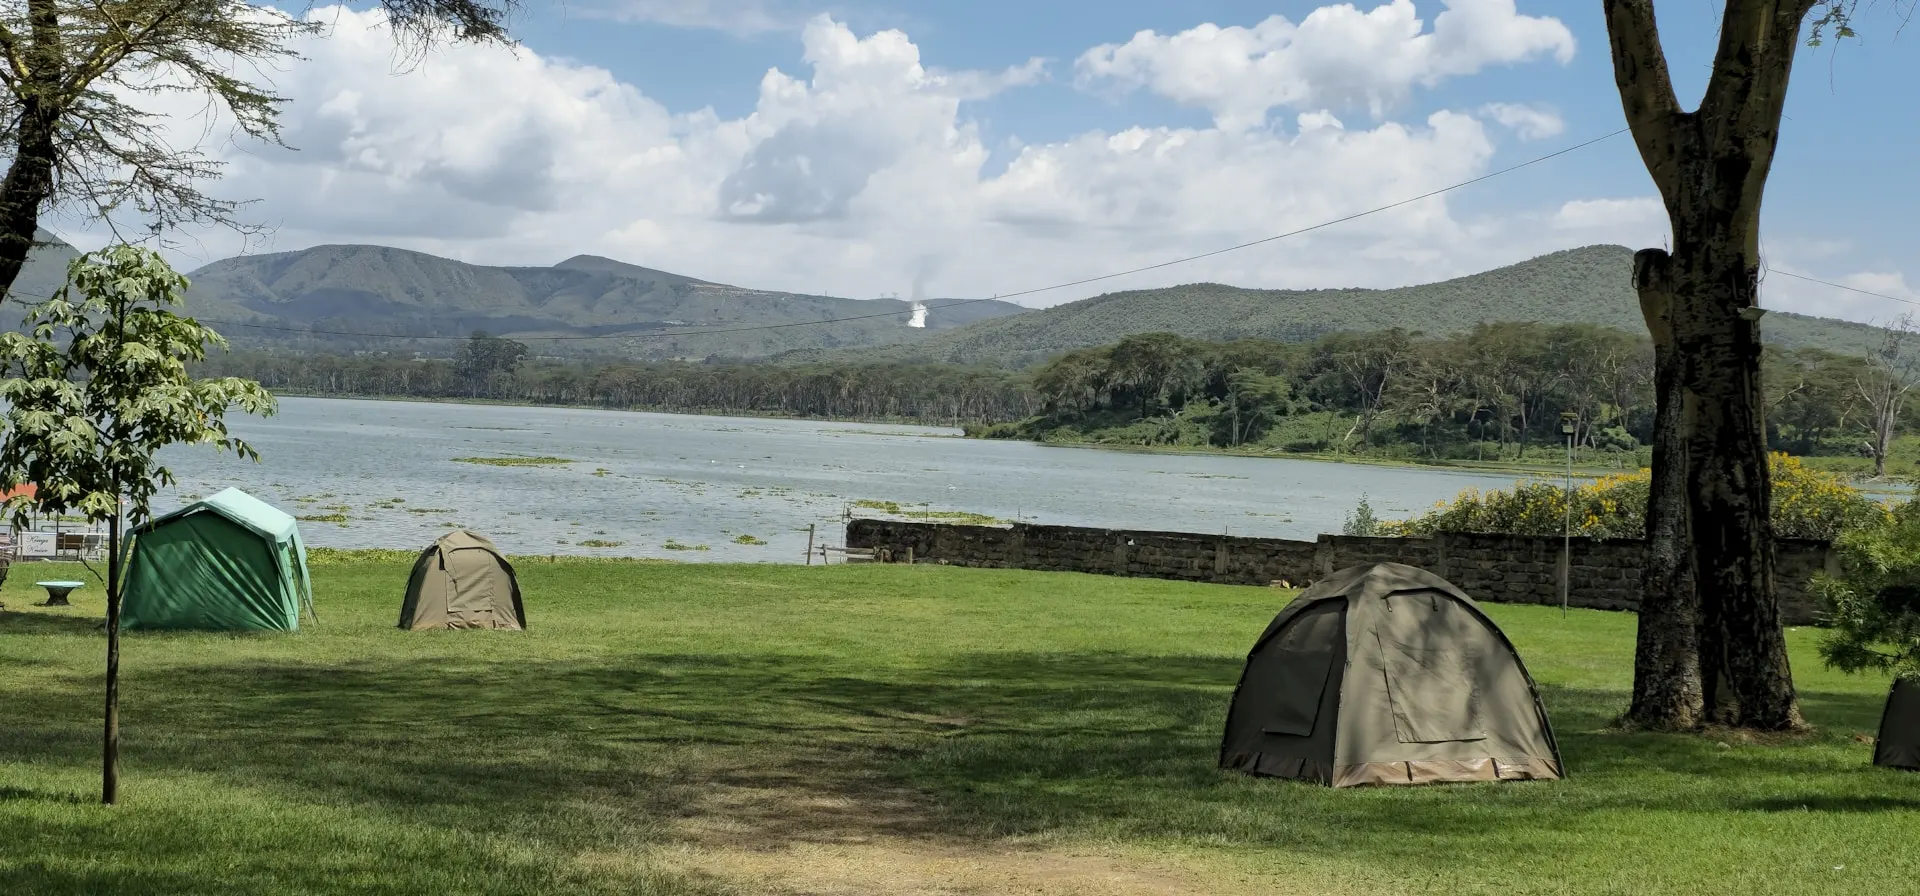
Set Up The Tent
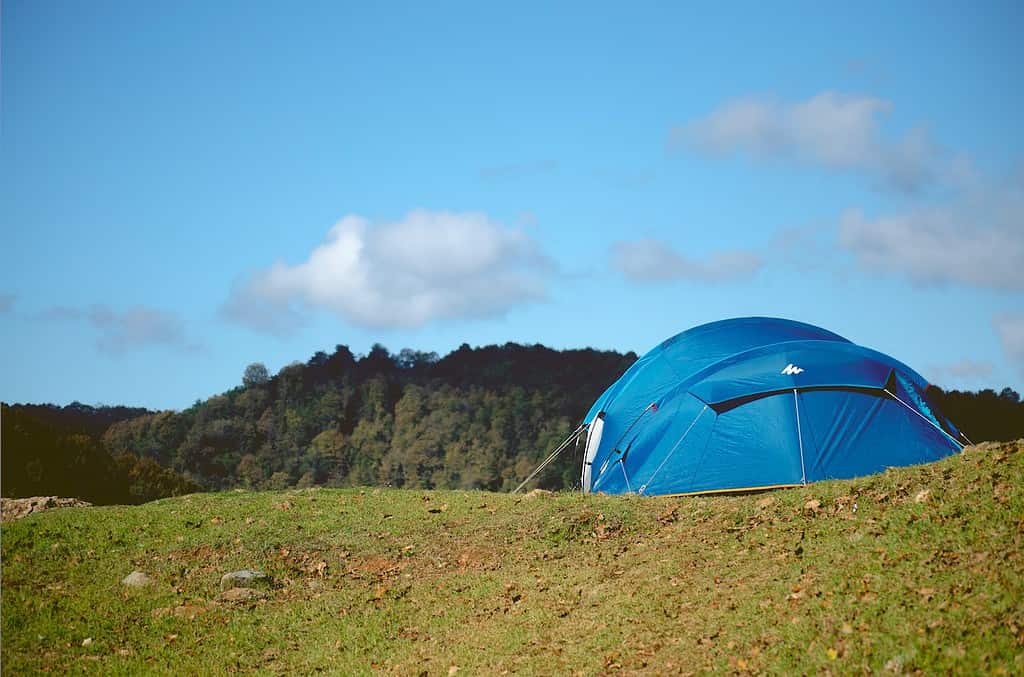
Lay out the tent with the footprint on the ground after selecting a good campsite. Hook the poles on each side. Make sure to remove any pebbles or other objects from the area that could harm the tent. The door should be facing the desired direction when you spread the canvas out flat. Look for an open area with a nice view and make sure the tent door is facing the view.
Stake The Tent
Stakes are typically included with tents and should be used to anchor the tent to the ground. Stakes should be driven into the ground at a 45-degree angle after being threaded through the loops on the tent’s corners. Make sure the tent is taut and the stakes are firmly planted.
Build The Poles
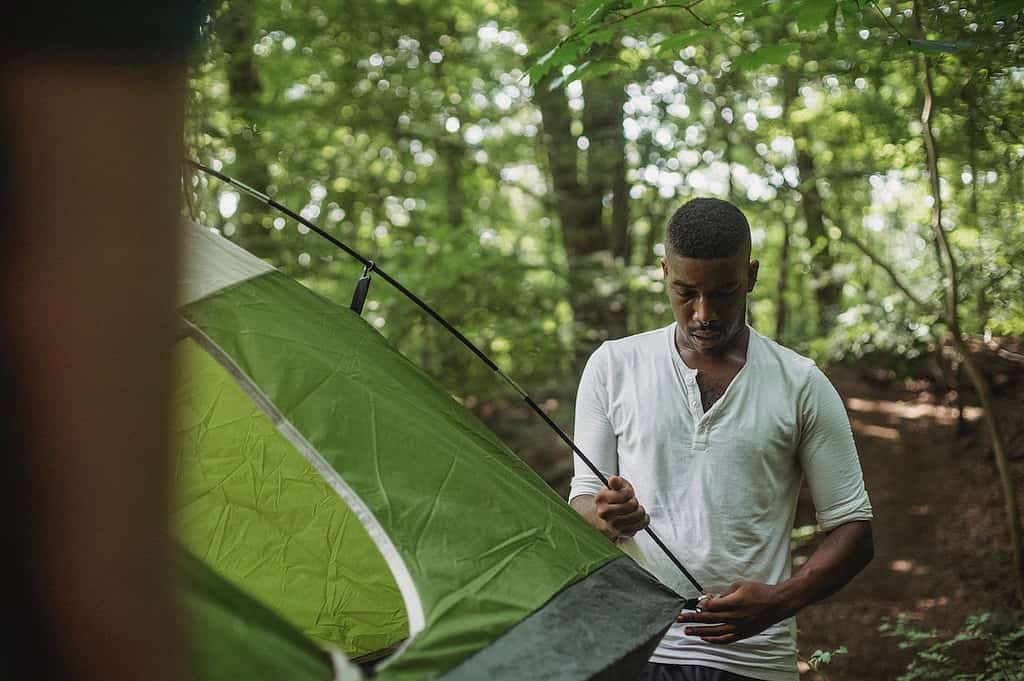
The tent poles must next be put together. In accordance with the directions provided by the manufacturer, arrange and connect the poles. The tent’s pole sleeves must be slid through before the pole ends can be inserted into the grommets on the corners of the tent.
Erect The Tent
Once the poles are in position, hoist the tent up while standing at the entrance. The tent will start to take shape as you hoist. Lift until the tent is completely upright. Make sure you have not skipped any of the steps to avoid your tent falling on you.
Affix The Rainfly
The top of the tent can be covered with an optional rainfly, which adds another layer of weatherproofing. If your tent includes a rainfly, fasten it to the tent with the accompanying hooks or clips to keep it in place.
Finish The Project Off
The finishing touches for your tent are the last phase. This could involve installing any extra gear lofts or storage compartments, increasing the tension on the stakes and guy lines, and making any other customizations.
Carry A Rubber Mallet
It is important to have a rubber mallet when setting up a camping tent as it will come in when you need to drive tent stakes in. That will make the operation much simpler and quicker and help you avoid damaging the stakes.
Utilize Guy Lines
Additional ropes that can be fastened to the tent to increase stability in windy conditions are known as guy lines. If it’s windy, utilize them and adjust the tension as necessary. Use nearby trees or bushes if any to fasten your camping tent and make sure it’s stable. After you’ve completed setting up your tent, make sure to maintain it tidy and clean. By doing this, you can increase its lifespan and make sure your camping trip is comfortable.
Carry A Ground Cloth
A ground cloth will come in handy while setting up a camping tent by assisting to shield your tent’s base from rocks, sticks, and other objects. Before you set up your tent, it is a good idea to lay down a ground cloth. Make sure it is slightly smaller than the footprint of your tent so that rain won’t pool on top of it.
Utilize A Headlamp
When setting up a camping tent in the dark, a headlight can save your life. It enables you to work with both hands free while providing adequate lighting. Make sure to carry a headlamp or some form of lighting device in case you arrive at the campsite at night.
Look For Natural Windbreaks
Always look for natural windbreaks when setting up your tent. Examples include trees, plants, and big boulders. They can offer additional wind protection and aid in maintaining the stability of your tent. Some places have very strong winds so make sure to be on the lookout for that. Once your tent is erected, make sure to keep your belongings orderly inside. To keep your items off the ground and within reach, use storage pockets or gear lofts.
Use Leave No Trace Concepts
To reduce your impact on the environment while camping, it’s crucial to use Leave No Trace principles. Collect all trash and dispose it properly, in fact carry all your trash and all the items and leave the campsite like you weren’t there in the first place.